Table of Contents

Your Canva Resume, Made Easy: A Step-by-Step Video Guide

This guide will walk you through customizing your new template. Follow along with the videos to create a resume you love.

Part 1: Accessing Your Template

(Video 1: Accessing your template, opening in Canva, and the login process)

Step 1: Click the Download Link

Open your 'Thank You' PDF and click the download link for your paper size (A4 or US Letter).

Step 2: Click "Edit Template"

On the Canva preview page that opens, click the purple "Use template" button.

Step 3: Sign In & Create Your Copy

If prompted, sign in to your Canva account. This automatically creates your own private, editable copy of the resume.

Part 2: Canva Basics & First Edits

(Video 2: Zooming, making a copy, interface basics, initial text edits, and using Undo/Redo)

Step 4: Create a Safe Backup Copy

This is a critical step. Before making any edits, go to File > Make a copy. Always work on this new "Copy of" your resume to protect the original.

Step 5: Zoom for a Better View

Use the zoom controls in the bottom-right corner of the editor to get a closer look at any section of your resume. This makes editing much easier.

Step 6: Adjust Font Size

Click on any text. Use the number field in the top toolbar to make the text bigger or smaller.

Step 7: Change Font Style

Click the font name (like 'Canva Sans') in the top toolbar to open the font menu and choose a new style.

Step 8: Fix Mistakes with Undo & Redo

Use the Undo and Redo arrows in the top toolbar (or Ctrl/Cmd + Z) to easily fix any mistakes.

Part 3: Advanced Text Formatting

(Video 3: In-depth text formatting, copy style, and auto-save/reopen features)

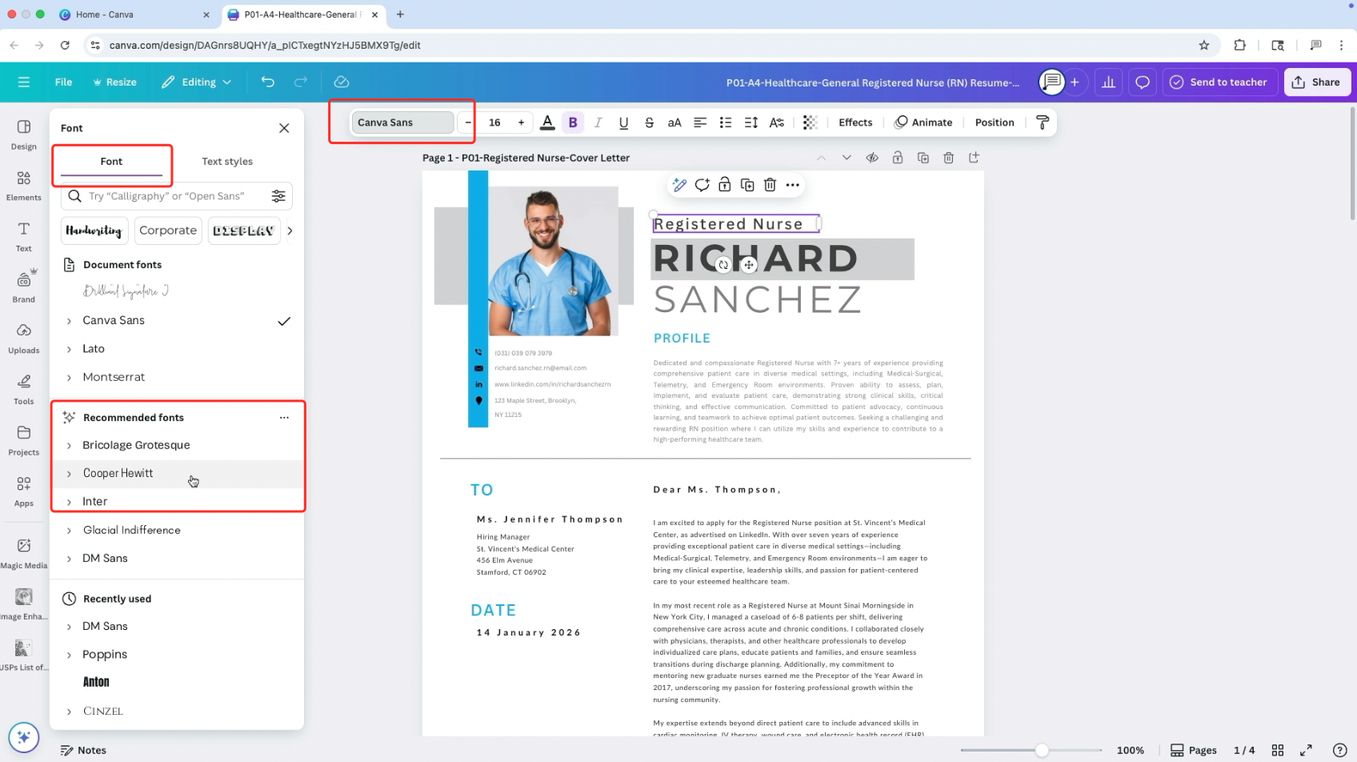
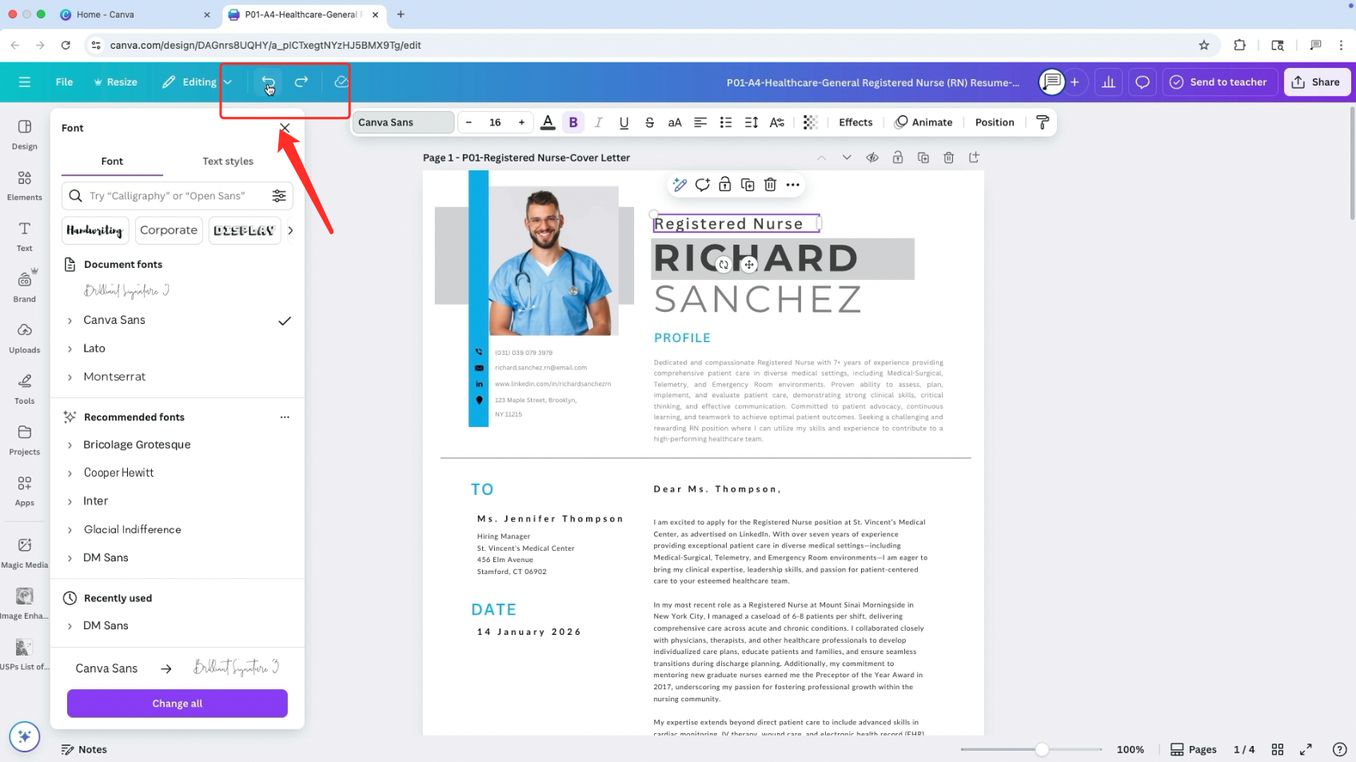
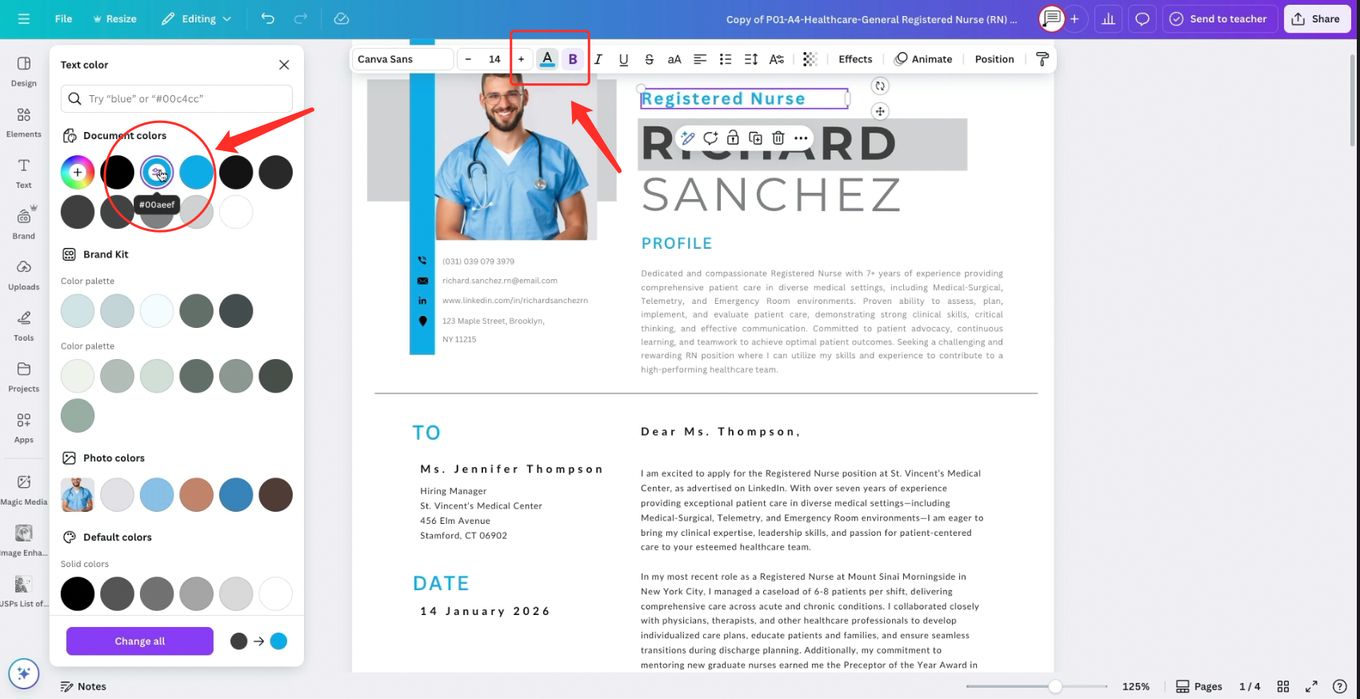
Quick Tip: For a pro vibe, try pairing a clear, strong font (like Montserrat or Lato) for your headings with a highly readable font (like Arial, Calibri, or Open Sans) for the body text. Often, sticking to black or dark grey text with one subtle accent color—like a deep blue or a muted teal—works wonders.

Step 9: Change Text Color

Select any text, then click the "Text color" icon (the letter 'A' with a color bar) in the top toolbar to choose a new color.

Step 10: Make Text Bold

To make your text stand out, select it and click the 'B' (Bold) icon in the toolbar.

Step 11: Make Text Italic

To emphasize text, select it and click the 'I' (Italic) icon in the toolbar.

Step 12: Underline Text

To add an underline, select your text and click the 'U' (Underline) icon in the toolbar.

Step 13: Strikethrough Text

To add a line through your text, select it and click the 'Strikethrough' icon in the toolbar.

Step 14: Change to Uppercase

To make your text ALL CAPS, select it and click the 'Uppercase' icon.

Step 15: Align Your Text

Use the 'Alignment' icon to position your paragraph. You can align it to the left, center, or right.

Step 16: Create a List

Click the 'List' icon to instantly format your text as a bulleted or numbered list.

Step 17: Adjust Letter & Line Spacing

Click the "Spacing" icon to fine-tune the space between letters and lines for a clean, professional layout.

Step 18: Position and Rotate Elements

Click the "Position" button to open the advanced arrangement tools. Here you can precisely set the size and rotation of any selected element.

Step 19: Save Time with the "Copy Style" Tool

This is a powerful shortcut. Select text with formatting you like, click the "Copy style" paintbrush icon, then click on other text to instantly apply the same style.

Part 4: Adding Photos & Using Elements

(Video 4: Managing photos, using the Elements panel, and an intro to the Projects tab)

Quick Tip: For icons, search “minimal icons” in Elements and keep them small for a sleek, professional appearance.

Step 20: Upload Your Photo

Go to the "Uploads" tab. Drag your photo file into the panel to upload it, then simply drag it from the panel onto the photo placeholder in your resume.

Step 21: Use Graphic Elements

The "Elements" tab contains shapes, lines, and icons. You can click on any existing element on your resume to move or resize it.

Step 22: Organize with the "Projects" Hub

The "Projects" tab is your main hub for finding all your work. By default, it shows all your recent projects.

Step 23: Find Recent Designs

Click the 'Designs' tab within Projects to see all your past resume designs and other projects you've created.

Step 24: Organize with Folders

The 'Folders' tab lets you group related designs together, which is perfect for keeping your workspace tidy as you create more resumes.

Step 25: See All Uploaded Images

The 'Images' tab shows all the pictures you have ever uploaded, making it easy to reuse them in other projects.

Part 5: Final Layouts & Downloading

(Video 5: Section modifications, advanced fine-tuning, and downloading)

Quick Tip: Tailor it for each job—prioritize “Skills” or “Experience” based on the role’s requirements.

Step 26: Delete an Entire Section

If you don't need a section (like "Hobbies"), click to select the entire group of elements and click the 'Delete' (trash can) icon that appears.

Step 27: Group Elements to Move Together

To move multiple items at once (like a title and its text), hold the 'Shift' key while clicking on each item. Then, click the 'Group' button to combine them into a single element you can move easily.

Step 28: Duplicate a Section

Need to add another job or award? Select an entire section, click the 'Duplicate' icon, and then drag the new copy wherever you need it.

Step 29: Adjust Line & Border Colors

To change the color of a divider line or an element's border, select the item. Click the 'Border color' icon in the top toolbar and choose your new color from the panel.

Step 30: Adjust Skill Bars

Click on any skill bar. A 'Chart' panel will open on the left, allowing you to change the percentage and the thickness of the line (Line weight).

Step 31: Adjust Skill Bar Thickness

In the same 'Chart' settings menu, you can use the 'Line weight' slider to make the skill bar thicker or thinner to match your style.

Step 32: Start the Download Process

When your resume is perfect, click the 'Share' button in the top-right corner, and then select 'Download' from the menu.

Step 33: Choose PDF Settings & Download

In the Download menu, it is critical to select PDF Print for the 'File type' to ensure the best quality. Make sure all pages are selected, then click the final 'Download' button.


You're all set!

Congratulations on creating your new resume. You're now ready to start applying for your dream job. We're wishing you the best of luck!

Watch Me Transform a Boring Resume into a Professional Design

Shopping Cart
Scroll to Top
0